Building Your First Form
Welcome to our guide on creating your first form with Reform! In this tutorial, we will walk you through the process of building a simple lead form from scratch. Let’s get started!
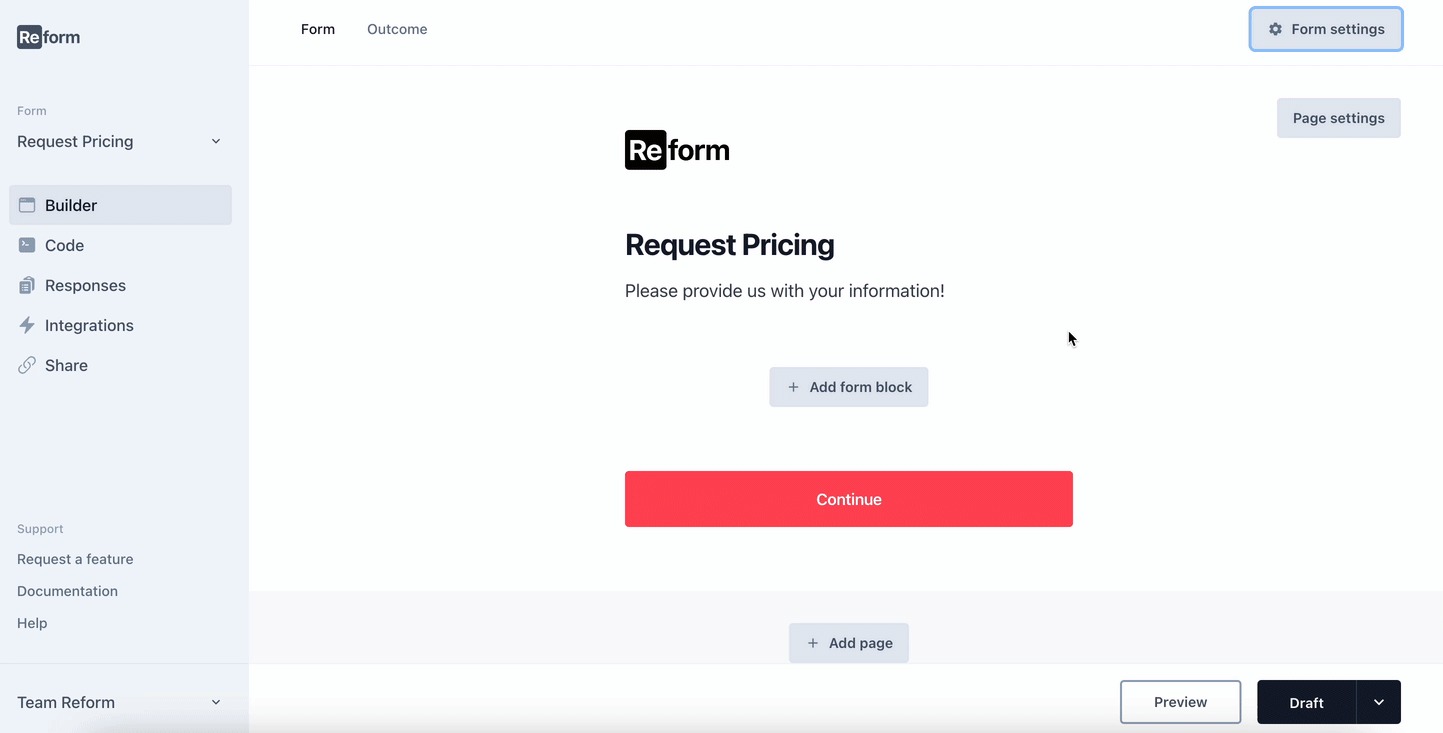
Step 1: Create a New Form
- Navigate to the forms page and select "Start from scratch" to begin creating a new form.
- Give your form a title and add some supporting text to provide context for your users.
Step 2: Add Your First Question
- Click on the "Add block" button to choose a type of question or data point. For this example, we'll use the 'select one' block type. Enter your question and the possible answers.
- If you need to change the block type, click the gear icon on the left side of the block and select 'Turn into'. Your previous edits will be preserved.
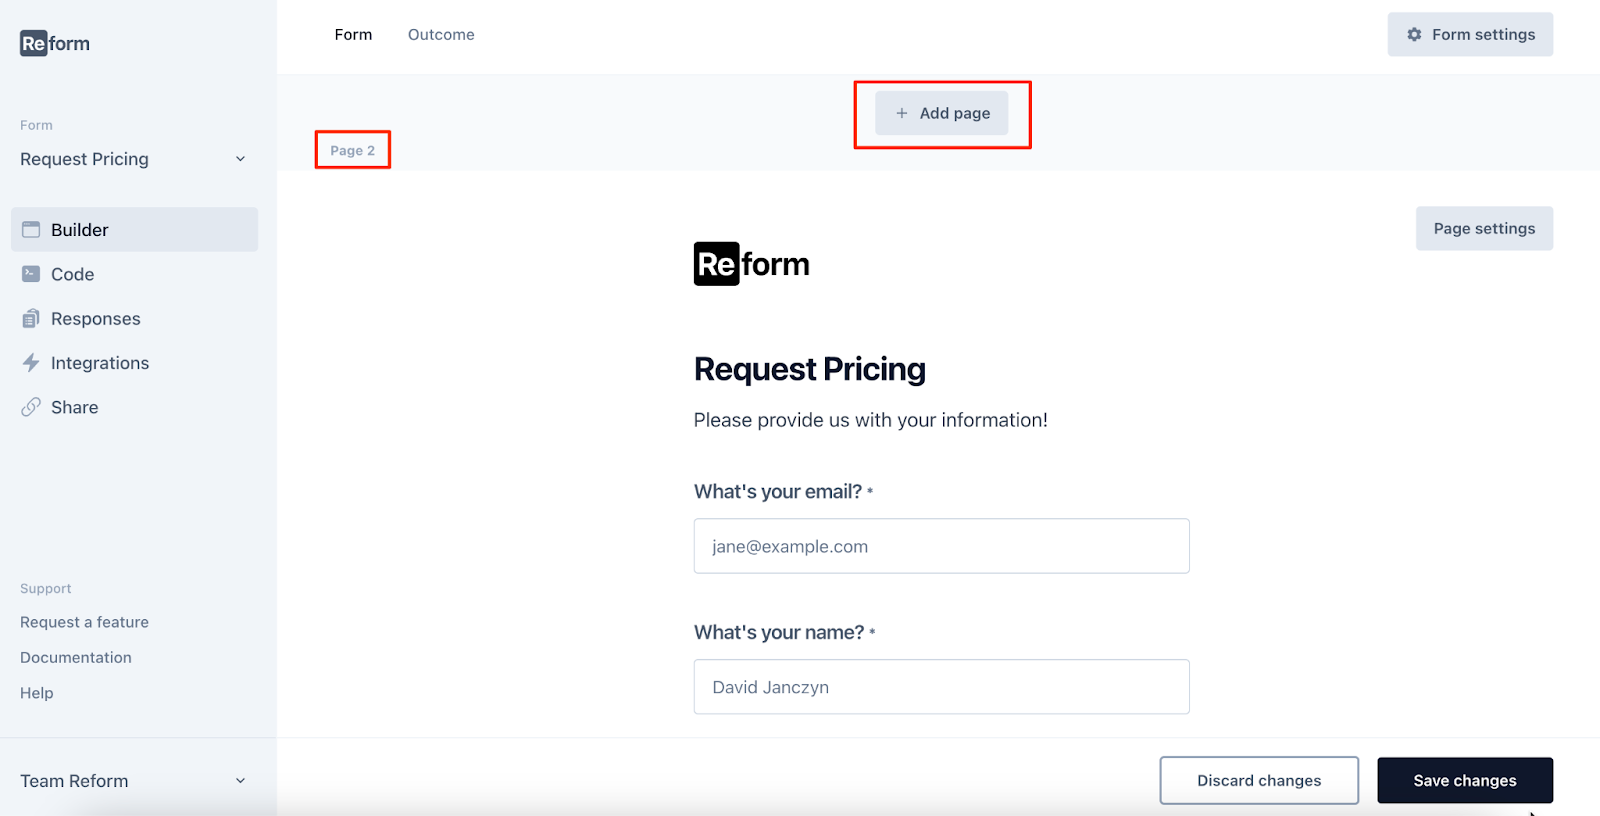
Step 3: Create Multiple Steps
- To make the form easier for users to fill out, add multiple steps. Click on the "Add page" button to add a new step. Duplicate content blocks from the first step and drag them to the next step for consistency. Add new questions for the second step, such as an email block and a name block.
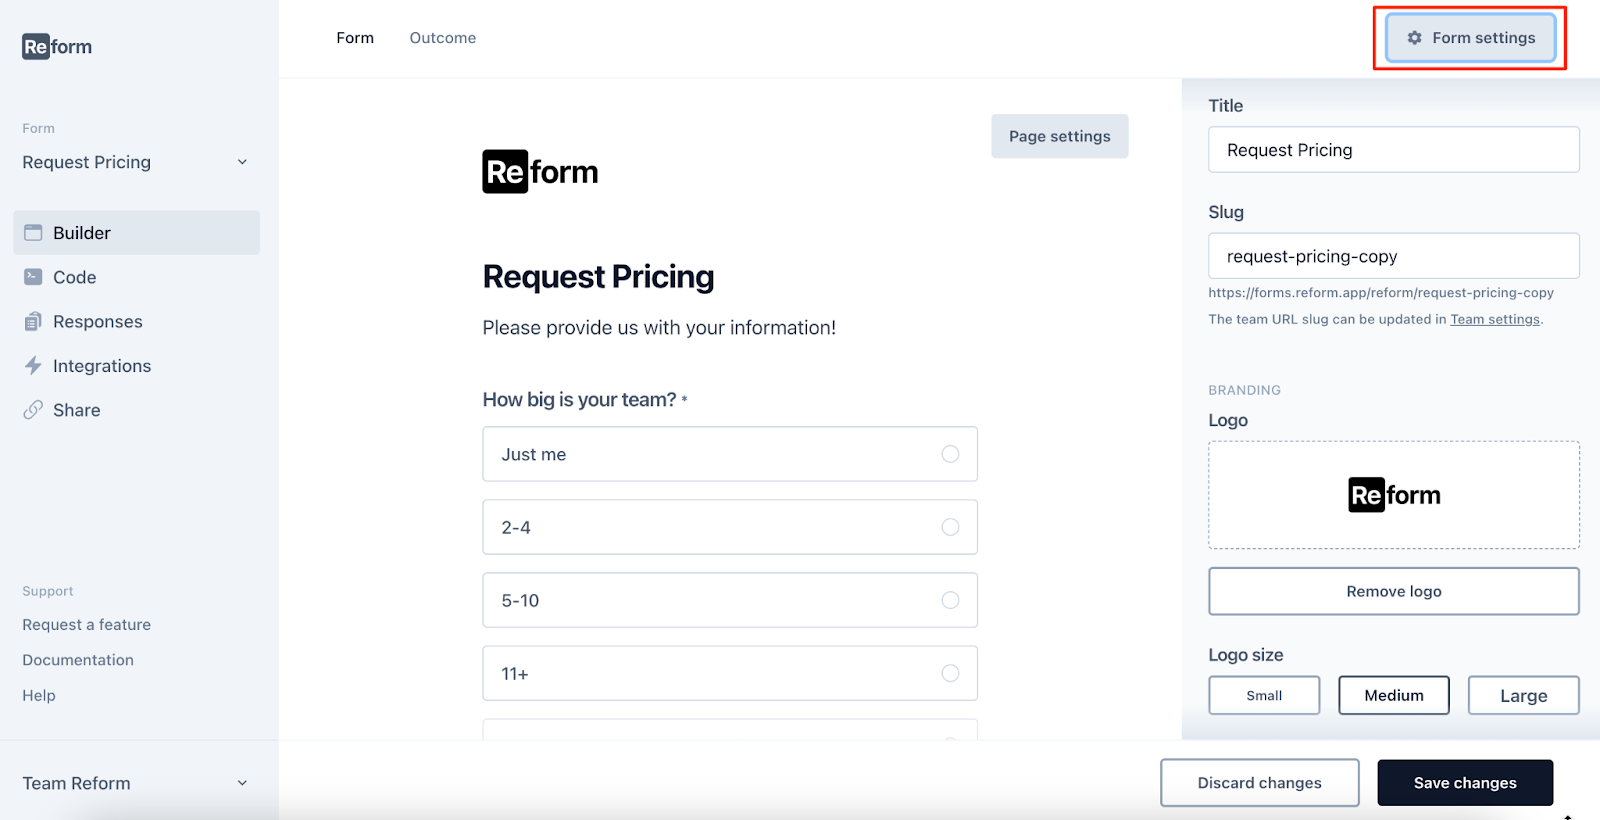
Step 4: Customize Your Form
- Update the placeholder text and questions by clicking on the fields and rewriting them. Mark fields as required if needed.
- Update the text of the submit button on one or both steps to better suit your form’s needs.
- Use the form settings to add your logo, change the color of the CTA button, and update the form slug to make it more descriptive.
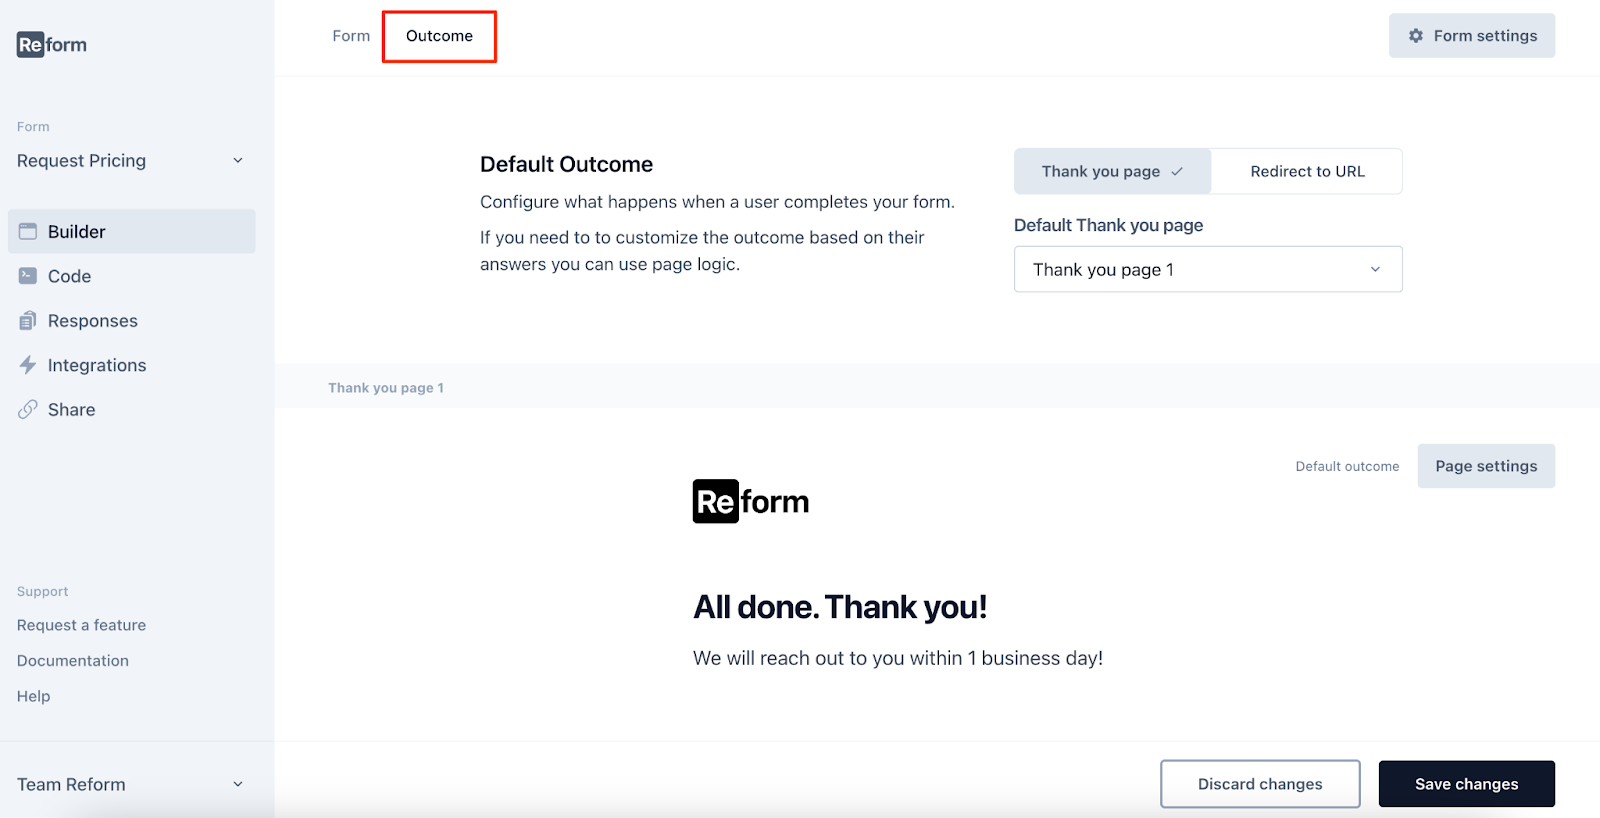
Step 5: Edit the Thank You Page
- Customize the thank you message that appears after form submission by clicking on the 'Outcome' option and editing the message.
Step 6: Preview and Publish Your Form
- Preview your form to see it in action and ensure everything looks and functions as expected. Basic validation, such as email format checks, is included. Once satisfied with your form, change your form’s status to 'Published' to make it live.
Step 7: View Form Responses
- You can view responses by clicking on the 'Responses' tab on the form builder page.
- Keep it simple. Don’t add unnecessary fields. Avoid overwhelming your visitors, and you’ll get more form fills.
That's it! You've successfully created and customized your first form. If you need more help, the attached video tutorial provides a visual walkthrough.
If you're experiencing issues or have additional questions, please contact us at [email protected]. We're here to assist you!
Happy form building!